
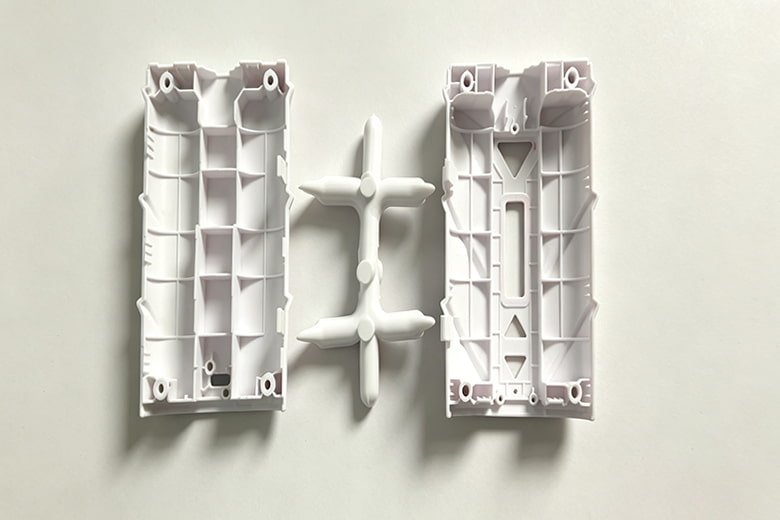
A startup needed plastic housings for a product about to launch. We took the design from CAD through tooling, moulding and finishing to production-ready parts.
What the Client Needed
The client was a startup preparing its first consumer product. The industrial design was settled, and the housing had to match it in colour, texture and fit. Nothing had been manufactured yet, and there was no in-house engineering team to carry the design into production.
The Challenge
- No tooling existed. The parts needed a mould built from scratch before anyone could produce a single unit.
- Tooling cost against an uncertain forecast. First-run volumes for a new product are a guess, so the tool had to last without carrying the cost of a high-volume mould.
- Appearance mattered. A consumer housing is the part buyers handle, so sink marks, weld lines and colour drift would show.
- The launch date. Tooling sits at the front of the timeline, before moulding can start.
How We Ran the Project
- Design review. We checked wall thickness, draft angles, radii, gate position and parting line before cutting metal. Problems caught here cost the least to fix.
- Mould design and build. Steel tooling was cut for the housing.
- First-shot samples. The first parts off the mould went to the client to check fit, finish and assembly.
- Adjustments. We corrected the tool where samples showed shrinkage, short shots or visible knit lines.
- Production moulding. Once the samples were approved, we ran the order.
- Surface finishing. Parts went through texturing, painting or printing to match the design.
- Inspection and packing. Finished parts were checked against the drawing, then packed for shipment.
Quality Control
Injection moulding can drift as a run continues, so we check parts through the batch rather than only at the start. We measure critical dimensions against the drawing, compare colour and texture with the approved sample, and record moulding parameters for each run so a repeat order matches the first one.
Result
- Production-ready components delivered for the launch.
- Unit cost came in below the client’s earlier estimate.
- The tooling supports repeat orders without new investment.
What Drives the Cost of an Injection Moulded Part
Three things set the price.
- Tooling. A one-time cost, driven by part size, number of cavities and surface finish.
- Material. Resin choice affects unit cost and how the part behaves in use.
- Cycle time and finishing. Thick walls slow the cycle, and painting or printing adds steps.
We review the design before quoting, so the number you receive reflects the part you actually need.
Questions Buyers Ask
Can you work from a 3D file only?
Yes. Send STEP or IGES with the key dimensions and tolerances, and mark which surfaces are cosmetic.
What is the minimum order quantity?
Tooling is the fixed cost, so minimum order quantity depends on part size and how the tool is built. For small parts, production runs in the low thousands are common. Send your part and volume and we will confirm.
Can you match a specific colour?
We match to a Pantone reference or a physical sample. Send the target and we will produce a colour chip for approval before production.
What happens if the design changes after tooling?
Small changes can often be cut into the existing mould. Changes to wall thickness or geometry usually require a new tool, which is why we push hard on the review stage before cutting steel.